How To Add Subtitles To Your LinkedIn Videos (For Free)


Posting videos on LinkedIn is a great way to increase visibility and engagement. As the Account Manager at Powderkeg, I love using videos as a way to promote educational content in a fun and easy-to-understand way. However you decide to utilize video, an important feature of your post should include subtitles (closed captioning) for two major reasons:
- Subtitles provide access to auditory information that not all LinkedIn users may have access to. The need for subtitles can be based on environmental factors (e.g., loud background noises) or an individual’s sensory abilities (e.g., hard of hearing).
- By default, videos in a LinkedIn feed will auto play with the sound off. Having subtitles attached to your video will give users a sneak peek at your content, making it easy to simply stop scrolling and continue reading along.
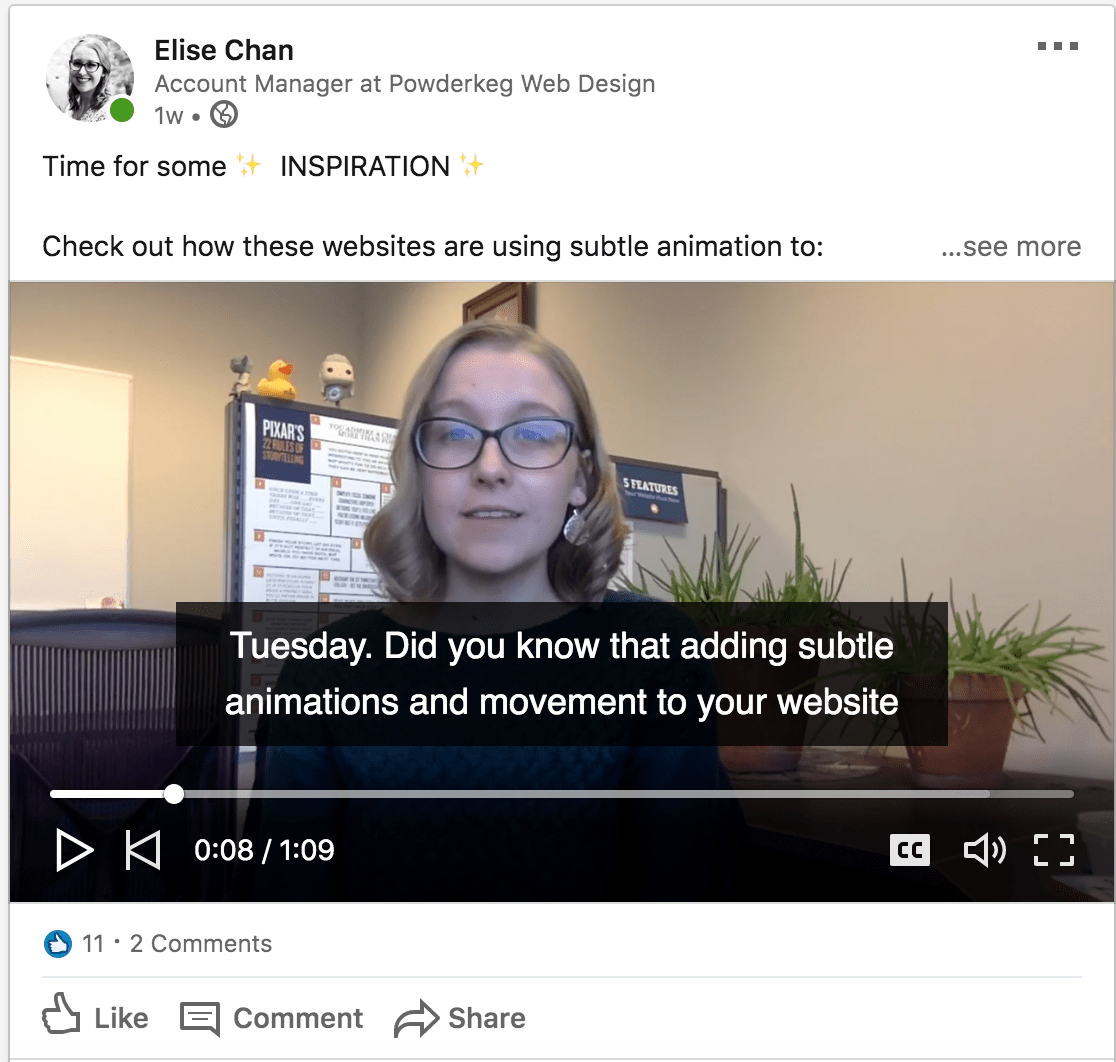
When it comes actually creating and attaching subtitles to your LinkedIn videos, there are many options out there. I feel that it is important to find a method that you’re likely to stick with. For me, when I was launching Tidbit Tuesday as a regular series, that meant fast and free. If you’re in the same boat, then look no further! I’m about to show you how I automatically generate free subtitles for my LinkedIn videos.
>>> Skip to the video tutorial <<<
1. Upload Your Video To YouTube
While you will be uploading your video file to LinkedIn directly, this method of generating your subtitles (SRT file) requires some help from YouTube. First, upload your file to Youtube. You can make this video unlisted or private if you prefer for it not to be viewable in public YouTube searches.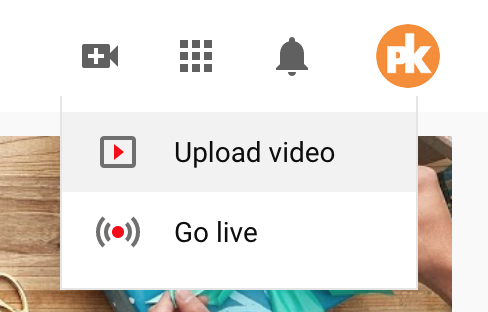
2. Wait For Those Glorious Subtitles!
Yes, you’ll play a bit of a waiting game. While YouTube may seem like magic, it cannot pull your subtitles out of a hat. Typically it takes 30 minutes – 1 hour for the automated subtitles to be viewable.

3. Edit Your Subtitles
You can find your subtitles within the YouTube Studio by navigating to Videos >> “Your Video Name Here” >> More Options >> Subtitles. See below for screenshots on where to find each of these different sections.
YouTube Studio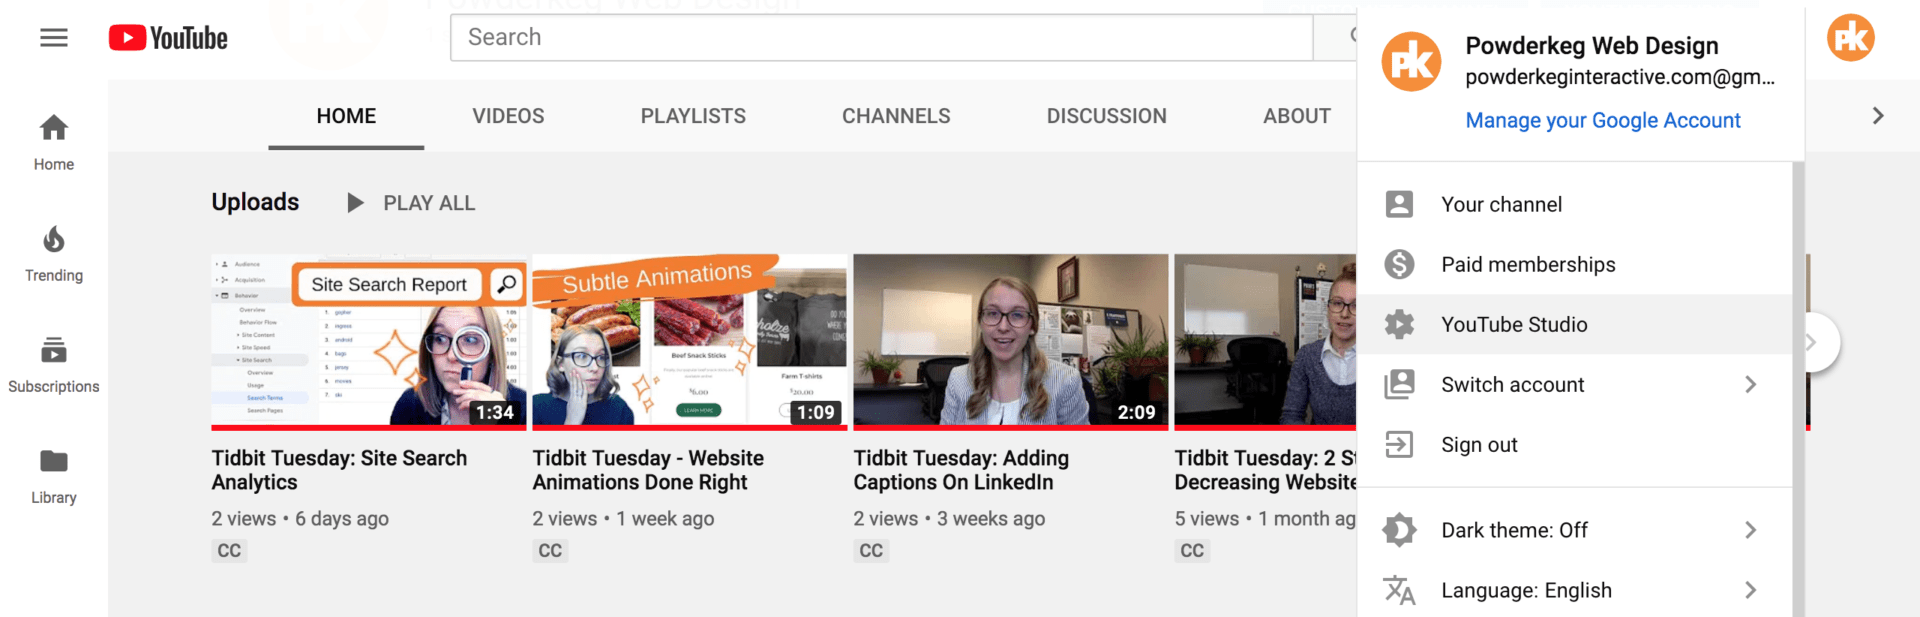
Videos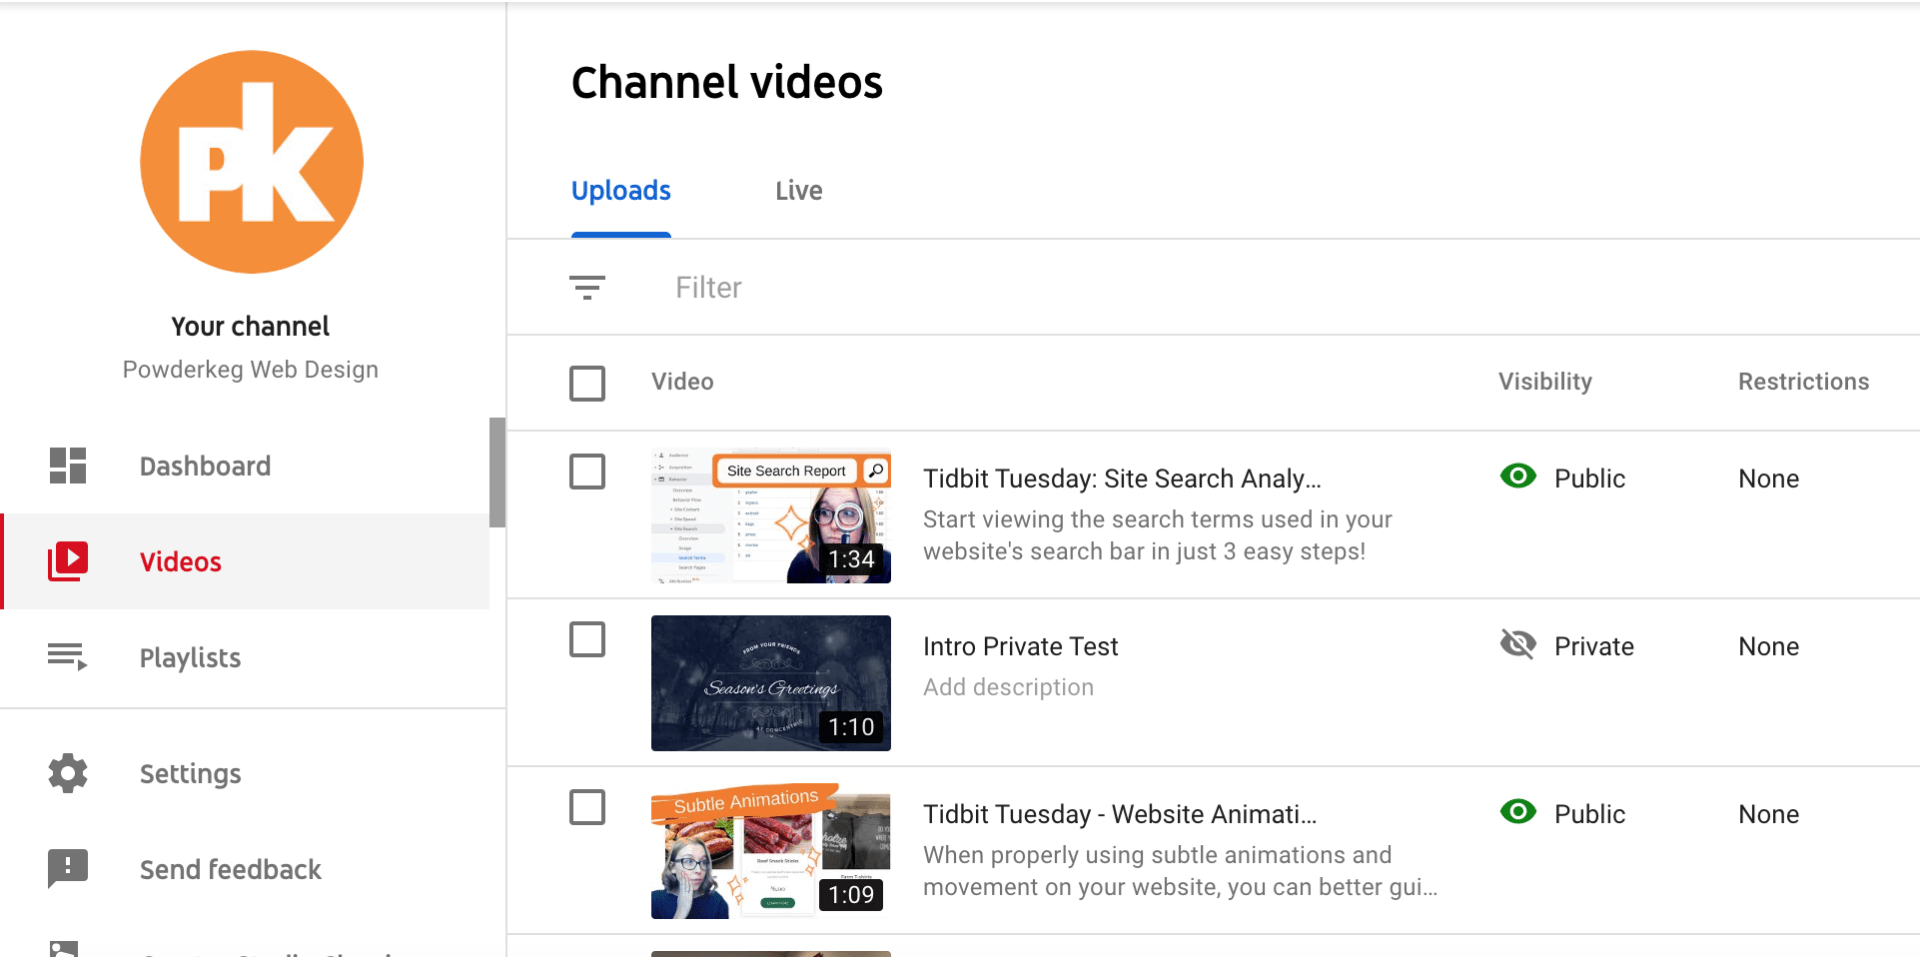
More Options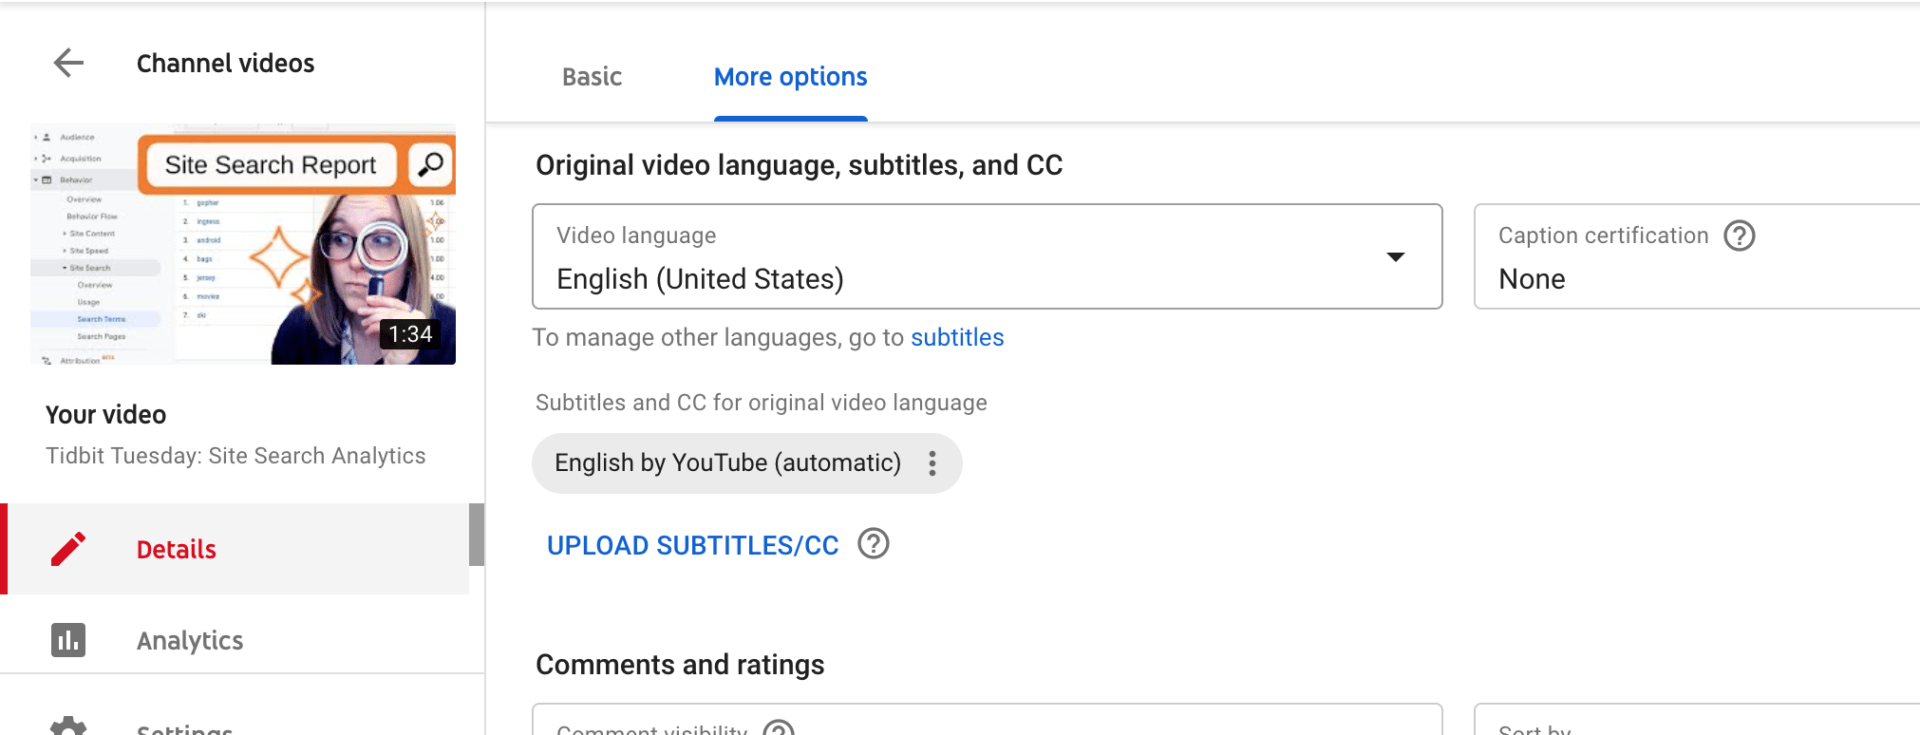
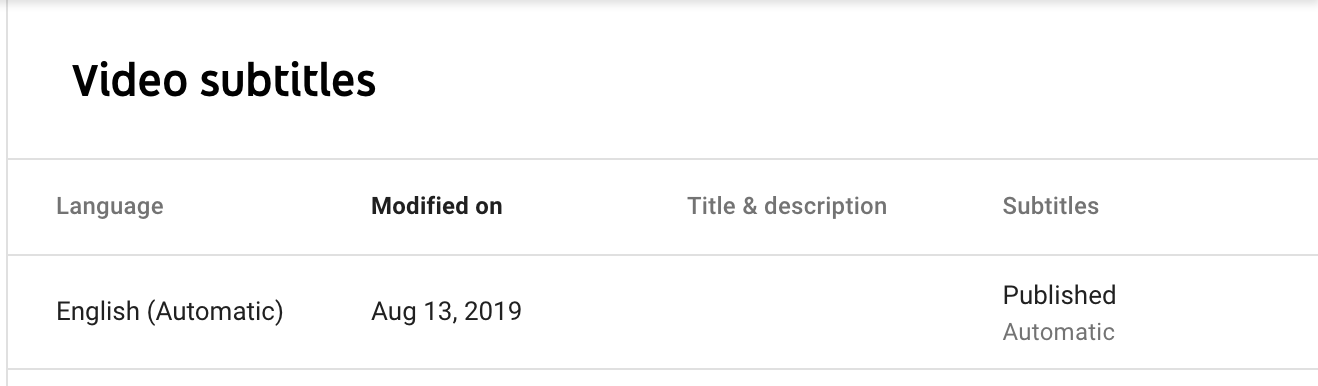
Once you have landed on the Subtitles screen, there will be a table that lists out any and all versions of subtitles you have created for your video. By default (assuming your primary language is set to English), there will be a “English (Automatic)” option. Click on the “Published” status text to open up the editing screen.
From here, you will have the option to Edit the actual subtitle text that has been generated by YouTube. For my Tidbit Tuesday videos, this is important as I apparently do not enunciate words like “Tidbit” clearly. Within each time block, there is a text box where you can swap out, add, or remove words as needed. Once everything looks correct, go ahead and save your changes (“Publish Edits”)!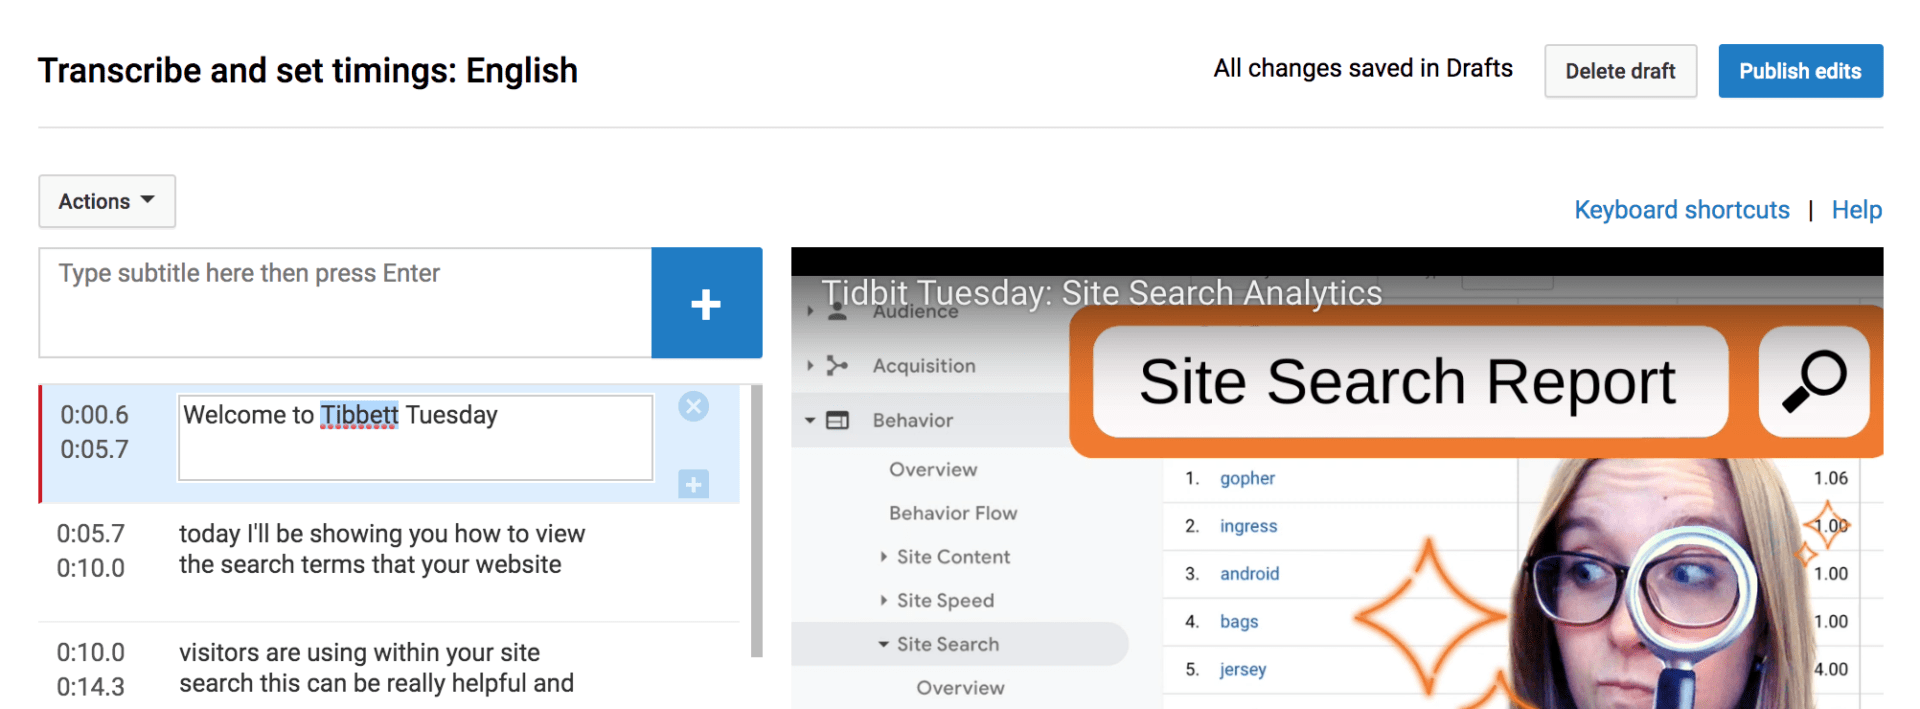
4. Download Your Video Subtitles
You can now return to the YouTube Studio area and navigate back through to Videos >> “Your Video Name Here” >> More Options >> Subtitles. Instead of clicking in to the “English (Automatic)” subtitles like we did back in step three, you will want to select “English” (which is what you created by saving your changes to the automatically generated subtitles).

Under the “Actions” dropdown, there are several different file types available for download. LinkedIn requires subtitle uploads to be in the .SRT file format. 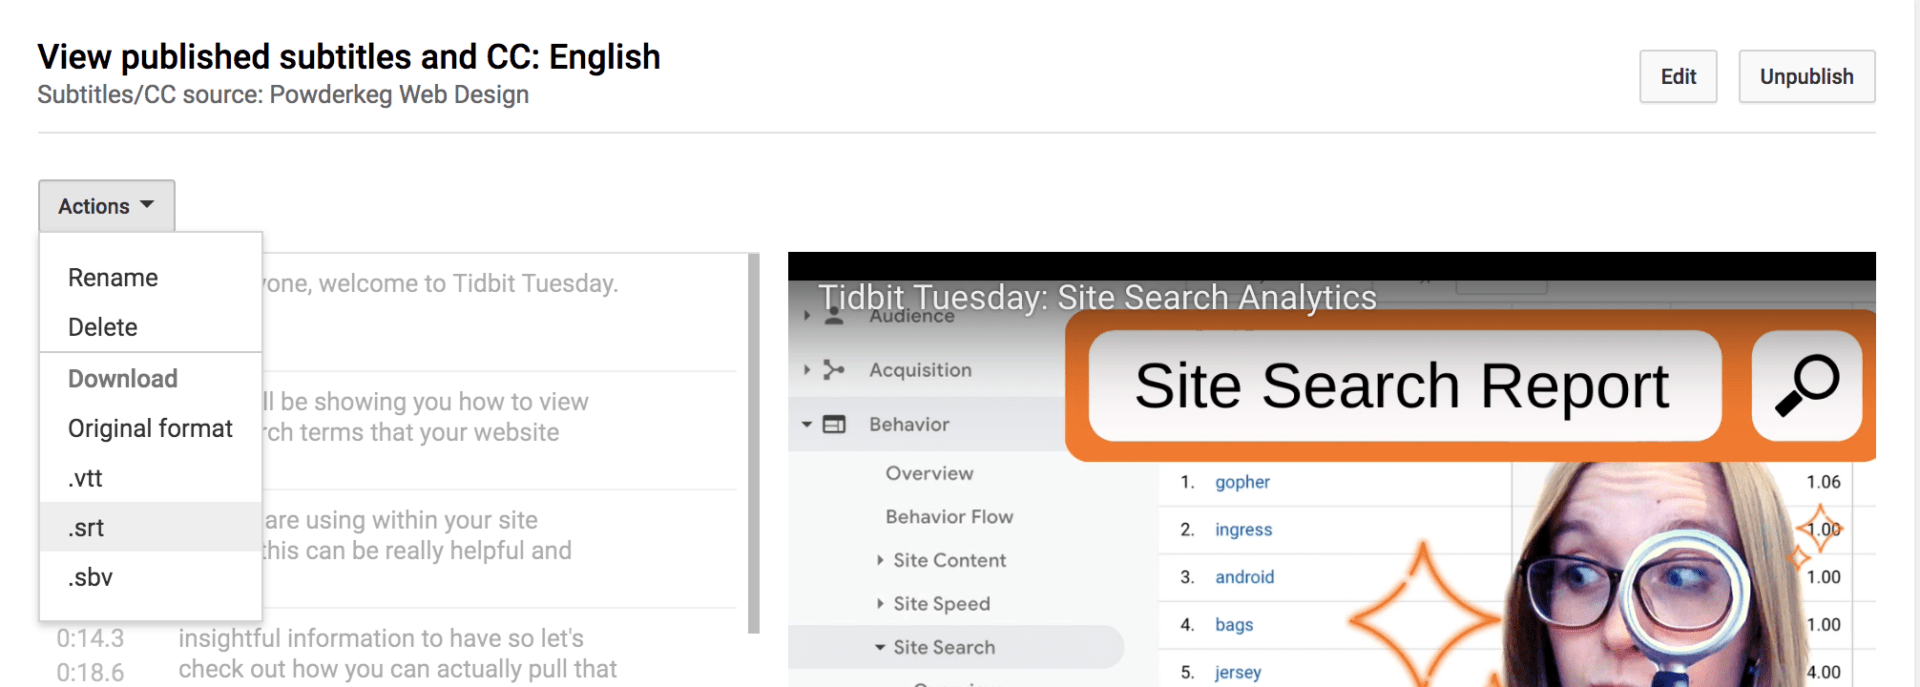
5. Upload Subtitles To Your LinkedIn Video
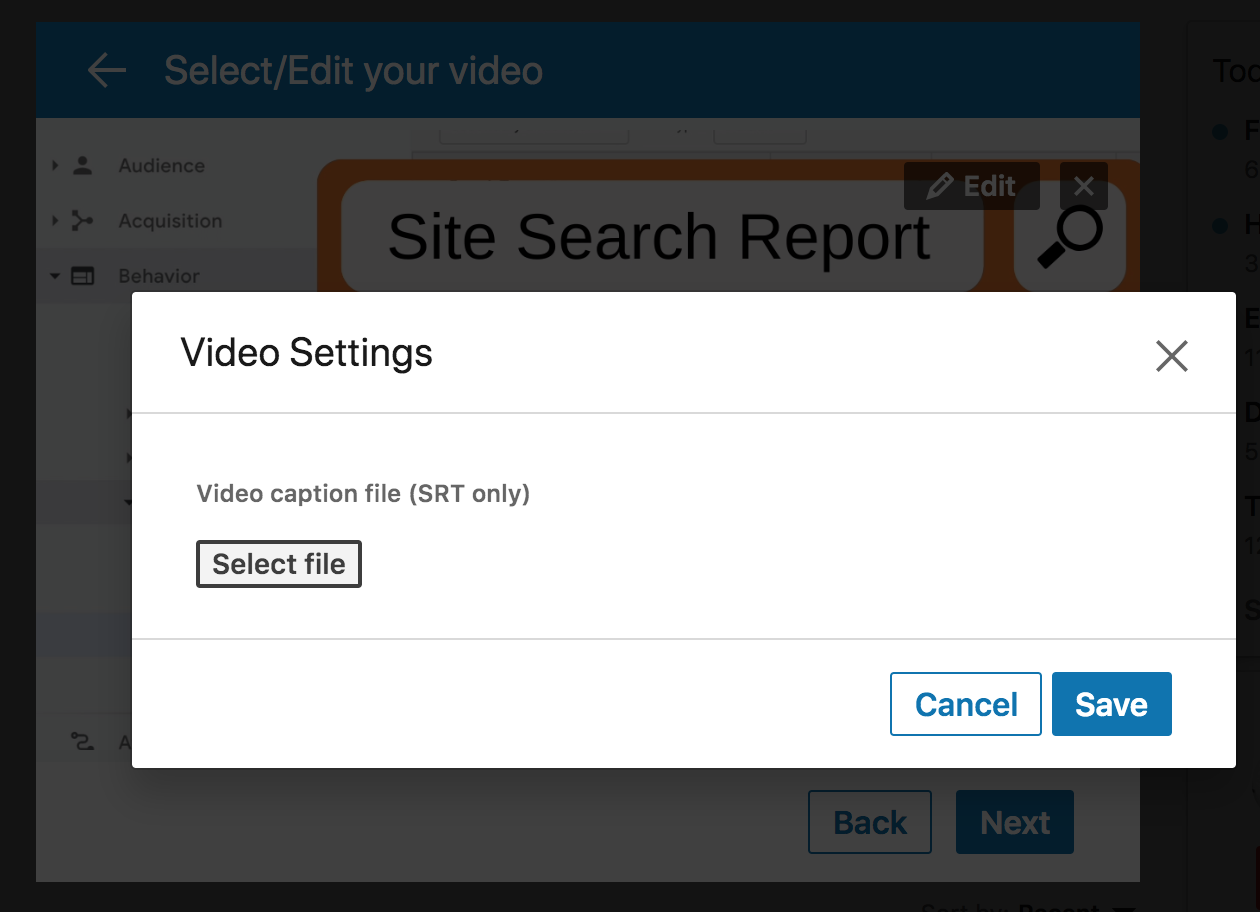
With your video and subtitle files ready to go, head on over to your LinkedIn account. When adding a new post, select the video upload option like usual. Once your video starts to load, you’ll notice an “Edit” option in the upper right corner. Click this button to reveal the subtitle file upload option!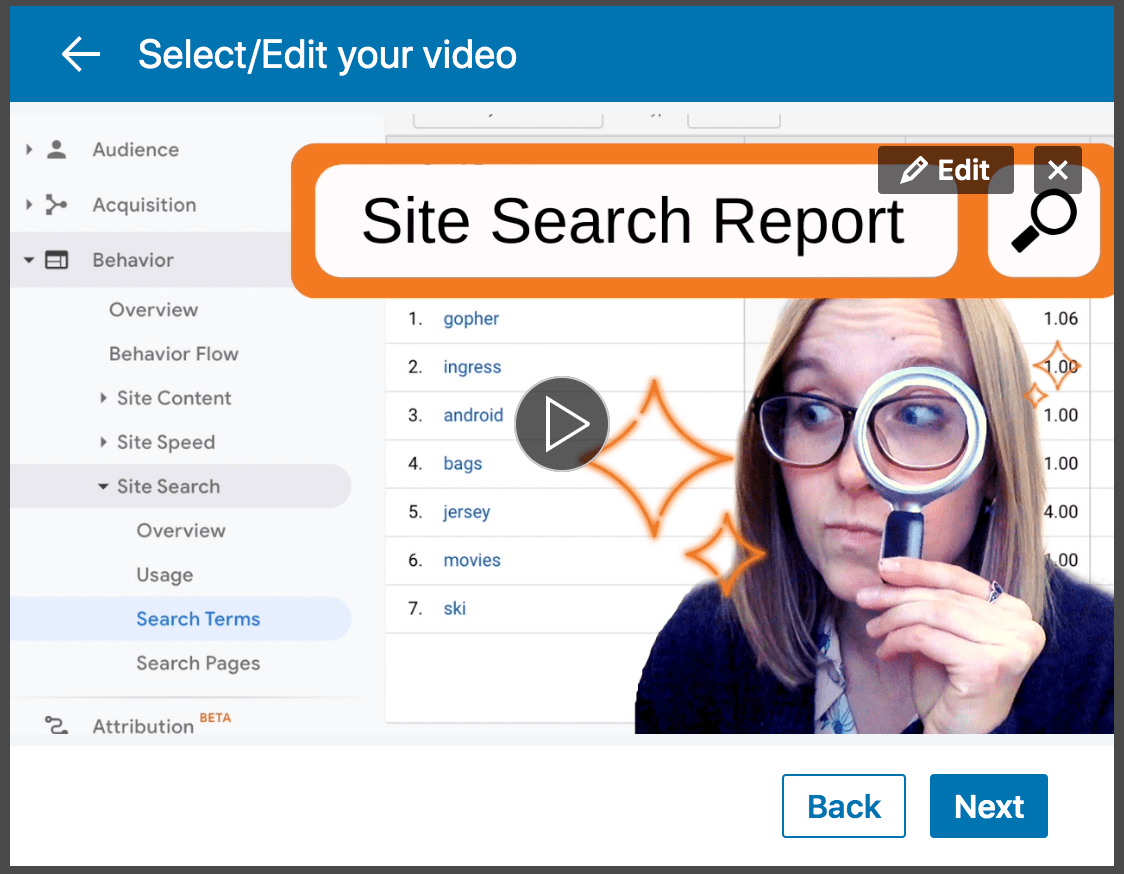
LinkedIn Success: Free & Speedy Subtitles
Congrats! You now know how to add subtitles to your LinkedIn videos. Unfortunately, you no longer have an excuse NOT to add closed captions. If you have any questions about adding subtitles or about making videos for LinkedIn, let me know.