Content management systems are crucial when it comes to providing a graphical way to manage and edit content on a website- AKA you don’t have to be a web developer! Today, we will be taking a look at a specific content management system, WordPress. Let’s see what this admin has to offer and how simple editing your website’s content can really be.
Total run time, 12:52. While there is closed captioning, a full transcript can also be found below.
If you have any questions about WordPress, please reach out to the Powderkeg team!
Introduction
“Hi everyone, welcome to our introduction on WordPress. My name is Elise, and I am the Account Coordinator over here at Powderkeg. My background is in web design and project management, with 3 years of industry experience. Today we will be reviewing a few key features of WordPress so you can better understand how it is used to edit websites. These areas include pages, media, and forms.
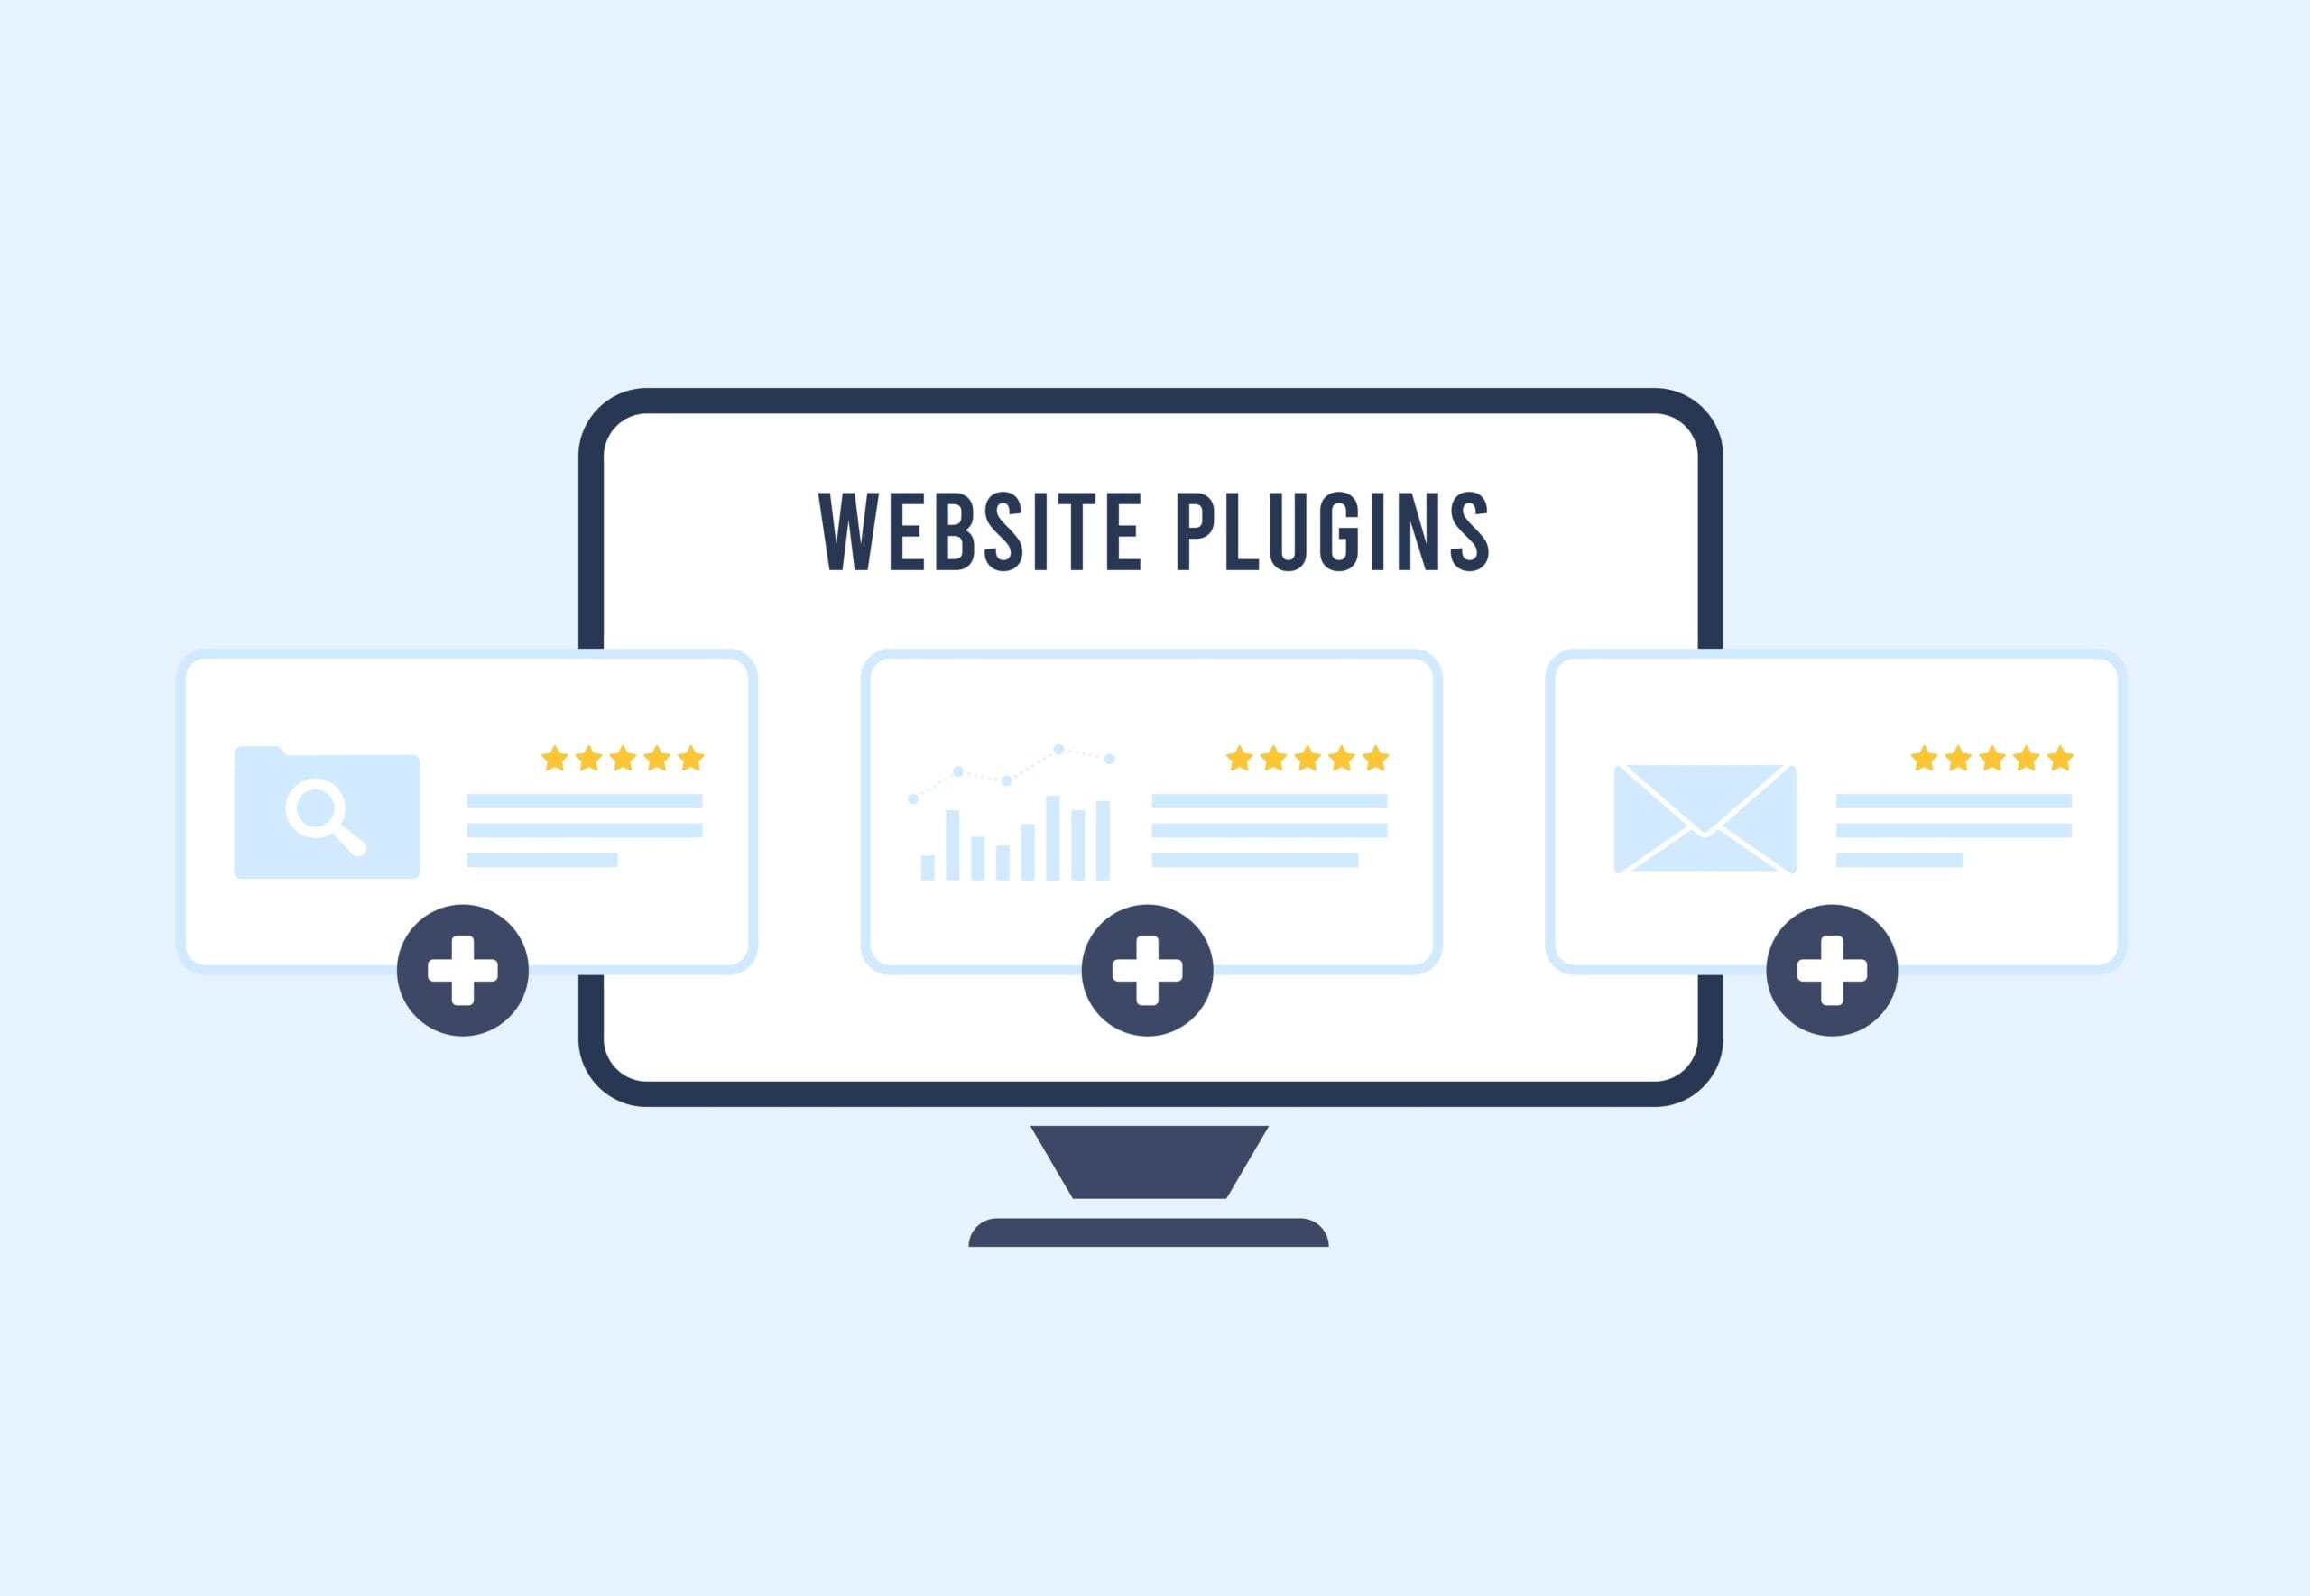
I want to first define what a CMS is. CMS stands for Content Management System. This is what provides a visual method for editing content on a website. So here is just a quick example of how the fields in the admin would line up with what users see on the frontend of your website. Without a content management system, the only way to make content updates once your website is built is to understand code like this. Which obviously isn’t realistic for everybody, so it’s really awesome that technology like content management systems exist. They just make our lives so much easier. Now WordPress is a specific type of CMS and is what we’ll be reviewing today. After hours of testing and comparison to other platforms, our team chose to use WordPress as the CMS for all of our new websites. Some reasons include, it is a flexible software that easily allows for customization and future enhancements. Which this is really important to us because all of our websites are custom built to fit our clients’ needs. Another reason is that it is easy to use and learn, which is necessary since the entire purpose of a CMS is to empower our clients to manage their website’s content.”
Editing Pages
“Now let’s go ahead and get started. This first view you’re going to see is the dashboard, which is just the general screen that pops up when you log in. Then off to the left is the main navigation of the WordPress admin. Which this will vary depending on your website’s content as well as user permission. Let’s first take a look at pages. Once you click on the Pages menu item, you’ll be taken to a list of all pages on your website. Once you click a specific page, you’ll be taken to the editing view for that individual page. On the most basic level, each page will have a title and WYSIWYG. WYSIWYG stands for “what you see is what you get.” The WYSIWYG Is basically a large text box where you can enter and format content.”
Some main features include, creating headings, bold and italicized text, bulleted and numbered lists, alignment, and linking text. If we take a look at an example of a page without any formatting, you can see that this is going to be really difficult for users to scan. However, with some simple formatting, we can make this page much more readable. So here is what that transformation looks like. You might be wondering how we did this- pretty simple. Within the WYSIWYG we: added headings when appropriate, strategically centered and italicized some text, and also added a bold, bulleted list. With those simple formatting updates, we were able to transform the readability of this page all within the WYSIWYG area.
Now it’s also possible to have custom fields that allow you to edit even more complex pages without the risk of breaking the custom layout. Let’s take a look at what that setup looks like. For example, if I’m using the Capability page template on our Powderkeg website, you’ll see there are very specific content sections. Each area has its own design, which would be almost impossible to create and edit via the WYSIWYG editor. So, instead there are very specific fields that correspond with each piece of content.
Taking a look back over in the individual page editing view, once you’ve made your copy updates, if you want to preview your changes, you can do so before pushing them live. So there’s that preview buttons. You can also edit the status and visibility. Status is pretty much draft mode, so if you’ve created a new page you can save it as a draft, preview it, share it with other admins, before ever going live. Then Publish would be the other main status, which is public facing, it’s out there live on your website. Visibility also has a few different options. If we expand that section, you’ll see we have three different options: public, password protected, and private. Public, that’s pretty self-explanatory. Password protected, that means users will have to use your specific pass code to access that page content. Or Private, which means only website admins will be able to view the page.”
Yoast SEO
“Looking beyond just the content that is viewed on the page itself, we use Yoast, which allows our clients to edit the meta title and meta description for each page. This is actually what appears on search engine result pages. To give you an example, here is a title, the meta title, and a meta description. I’m sure all of you have seen before, but that is just the technical background of how those are created. Otherwise, Google will basically just pull the first so many characters and default to the main title of the page for that information. So it’s definitely nice to have the option to customize that further.”
Adding & Editing Images
“You may have noticed while we were editing the page content, there were a couple of areas where you could add images. Now, this is sort of the second phase of the topics I’m wanting to discuss today. The specific use of images and how you’ll be adding them to the page will vary based on the context, but really the process is going to be the same no matter what. Once you click one of the add media buttons or links, you’re going to have the option to either pull a file from your media library- so that’s just an area that stores any files uploaded to the site in the past. Or you can choose to upload a file directly from your computer. Now this isn’t the only place you can access the media library or upload photos.
Over in the main navigation of the website, your media library actually has its own section. Once you click into that, you’ll pretty much see the same view we were just looking at. Here you can add new files and even edit existing files, there of course limits to this so let’s take a look at what all that includes. Once you click on a specific file, you have the option to edit specific fields. Specifically, having the ability to edit the alt text is really important since that is what appears for users with screen readers or in the case the image fails to load. There’s even some basic image editing options, like crop, rotate, and resize.”
Editing Forms
“That wraps up our content on pages and media. Now, let’s take a look at online forms and the different information we can edit via the admin. Keep in mind, some forms may be more advanced and require extra logic or styling to built out with code. However, basic forms can be built and edited in the admin. There are a variety of field types to choose from, once you select a field it will populate over into the form, once you click that field you can edit its specific settings. For example, the field label, description, now this isn’t on this specific field but if you were choosing something like dropdown, checkboxes, radio buttons, anything that instead of the user typing information they’re choosing from a set of pre-populated options, that’s another thing you can edit, what options do they have. And then, you can select whether or not a field is required which means the user has to fill it out before submitting the form.
After the form is submitted, you may choose to show a confirmation message. That can be found under the form settings and then under confirmations. Once you click into this section it’s pretty straightforward. You’ll notice right away, this is pretty much another WYSIWYG text editing area. You know that, you’re a pro at it now, so it should be super simple to go in there an edit the confirmation message. Something really nice about the forms is that all entries are stored within the admin, so there is that entry section. However, you may still want to be notified anytime a new form is submitted. If we go over to form settings and notifications, you can fill out (and more than one, you can have multiple) you can fill out the notification information, such as who this email is going to be sent to, what the subject of the email should be, and really importantly is the message content, and I feel like most of the time you’re going to include the actual data from the form. There’s a really handy button on the right side that opens up a dropdown where you can actually select from all the fields from the corresponding form. You can choose one, a couple, or you can select the all submitted fields option if you want to see everything. That is super helpful and makes it really easy to get all of that information directly in your inbox.”
WordPress Summary
“That wraps up forms, so from looking at those three sections of the WordPress admin, you’ve seen the flexibility this CMS provides when it comes to: adding and formatting page content, uploading, using and storing media files, as well as editing forms and their notifications. Custom website design allows you to have a website that is tailored to meet the needs of your organization and target audience. While the setup requires a web developer, WordPress allows you to maintain the content on your website moving forward. If you have any questions at all about any of the content we have covered today, feel free to reach out to me or the rest of the Powderkeg team. We really appreciate you taking the time to sit in and learn more about WordPress and hope you found this helpful. Thanks everyone!”